
Before we started gutting the kitchen of this 1920's home; it was evident that after all the people who had chopped and changed things over the years there would be, like all renovations some surprises along the way.
One question that lingered in the air was, "what was under the lino floor?" The answer to that was a subfloor and lo and behold… more lino! Under that, another subfloor and finally, linoleum glued to the original hardwood floors with a black tar adhesive.
It looks something like this:
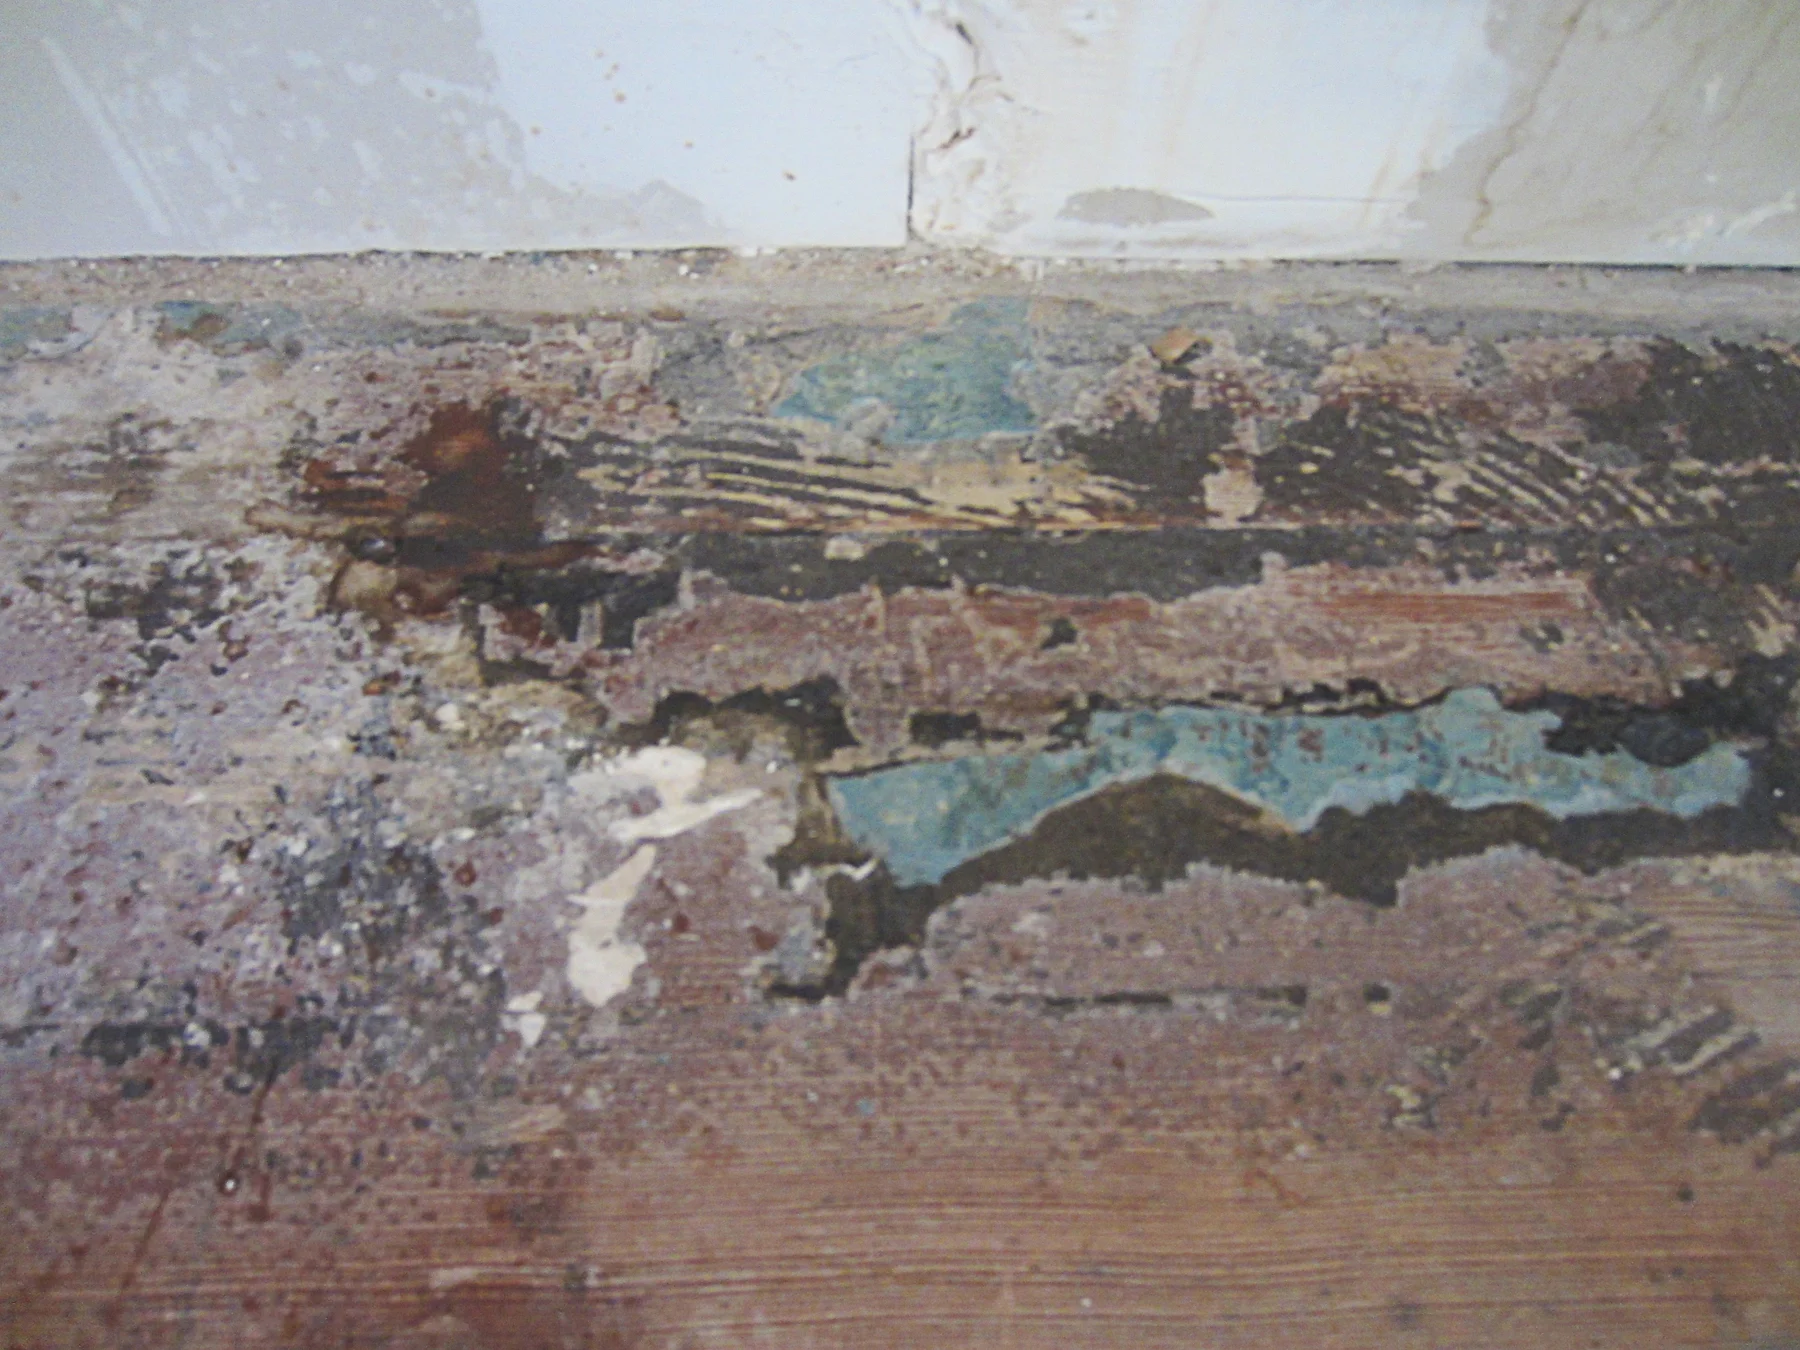
If you're wondering what that diamond shape is in the center, although difficult to read in the photo is the letter "A" scored into the hardwood and painted with enamel.
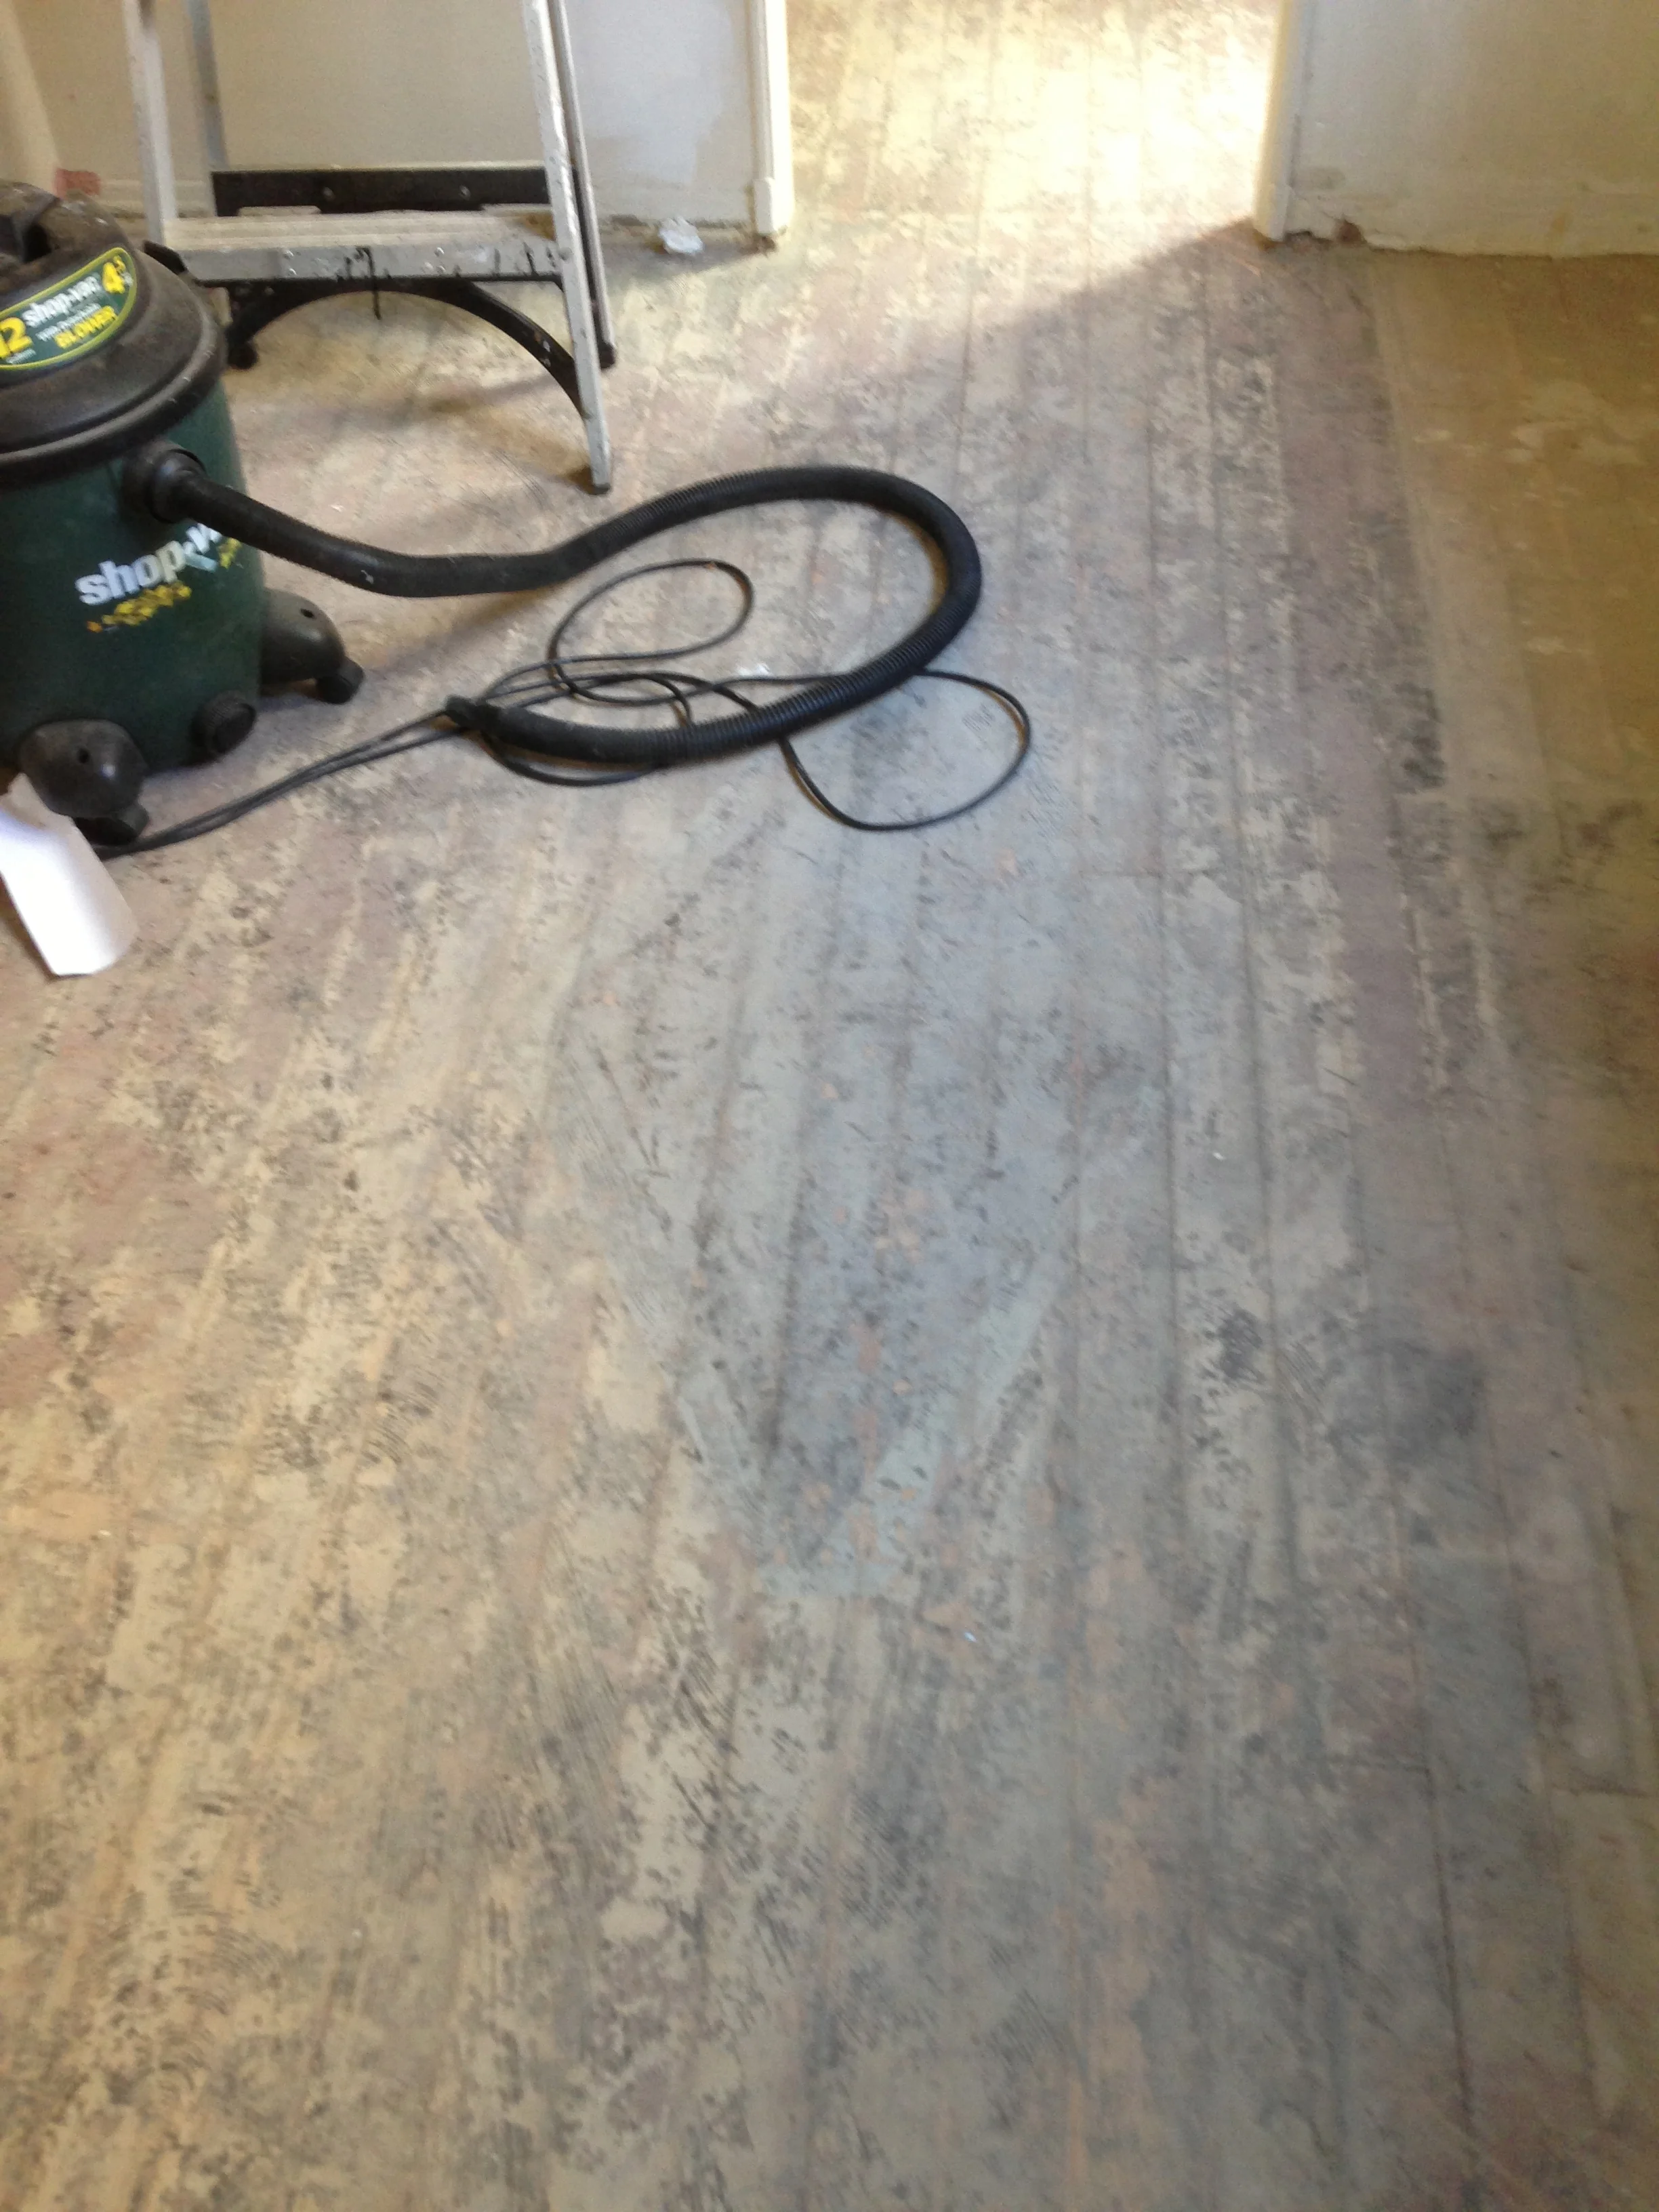
After pulling up literally hundreds upon hundreds of floor nails, sanding began. First with a drum sander hired from Home Depot. For a smallish kitchen like this we had it out for about 5 hours.
Then a belt sander starting with 60 grit paper and following the grain of the floorboards. Also handy was the wood floor edger for getting right up to the skirting boards.
Then a very thorough cleaning with a shop vac, wipe down everything with tack cloth.
For the staining, Zar "Dark Mahogany" was used in their oil based line. It was brushed on, then the excess was wiped of in the direction of the grain with a clean lint free cloth. After drying another layer was brushed on and wiped off as before.
For sealing, Zar Ultra Max Waterborne Oil Polyurethane was brushed on. After the first coat, holes were filled with wood putty; a color that most closely matched the area Miniwax's "Red Mahogany" worked well here. Three coats were used letting each dry with a light sanding and wiping down with tack cloth in between.


Refinishing the original floors has kept a piece of the house's history, saved money on the budget and looks beautiful in the new kitchen.